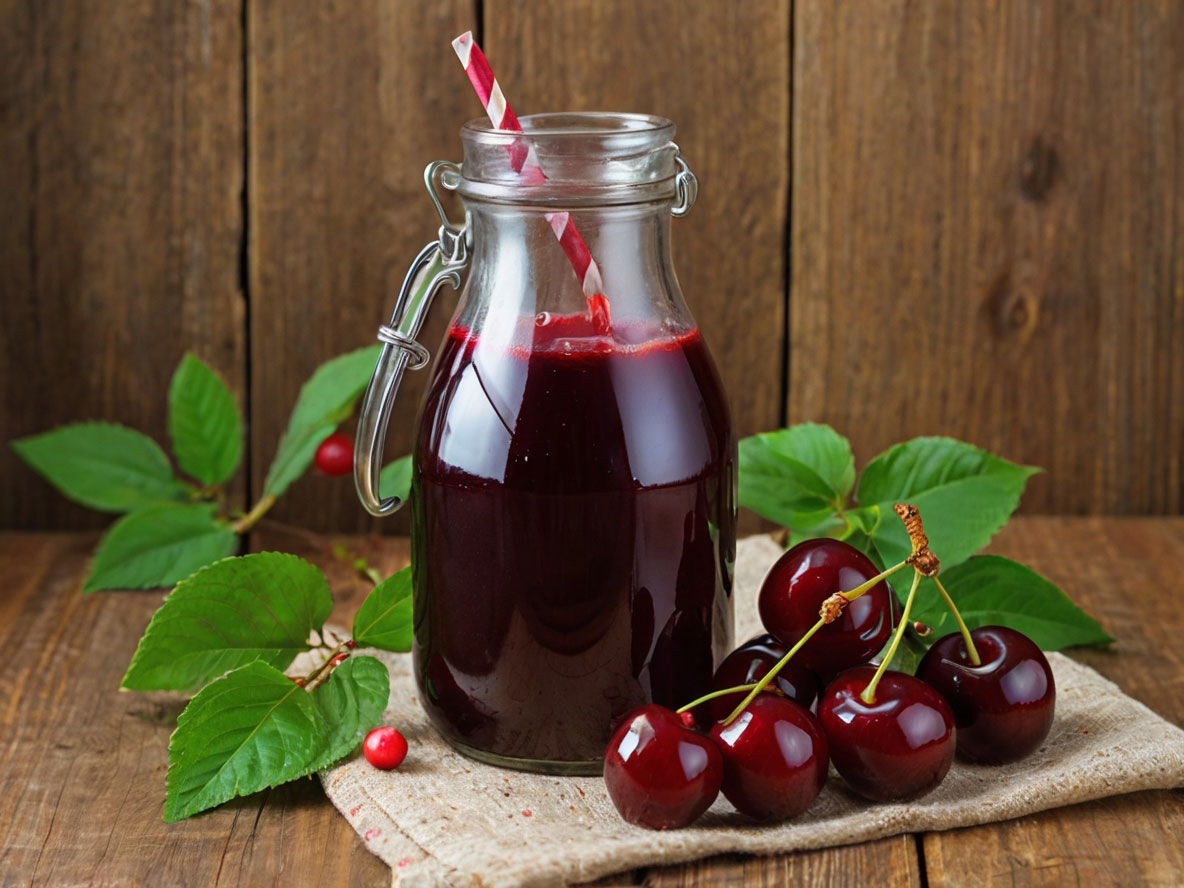
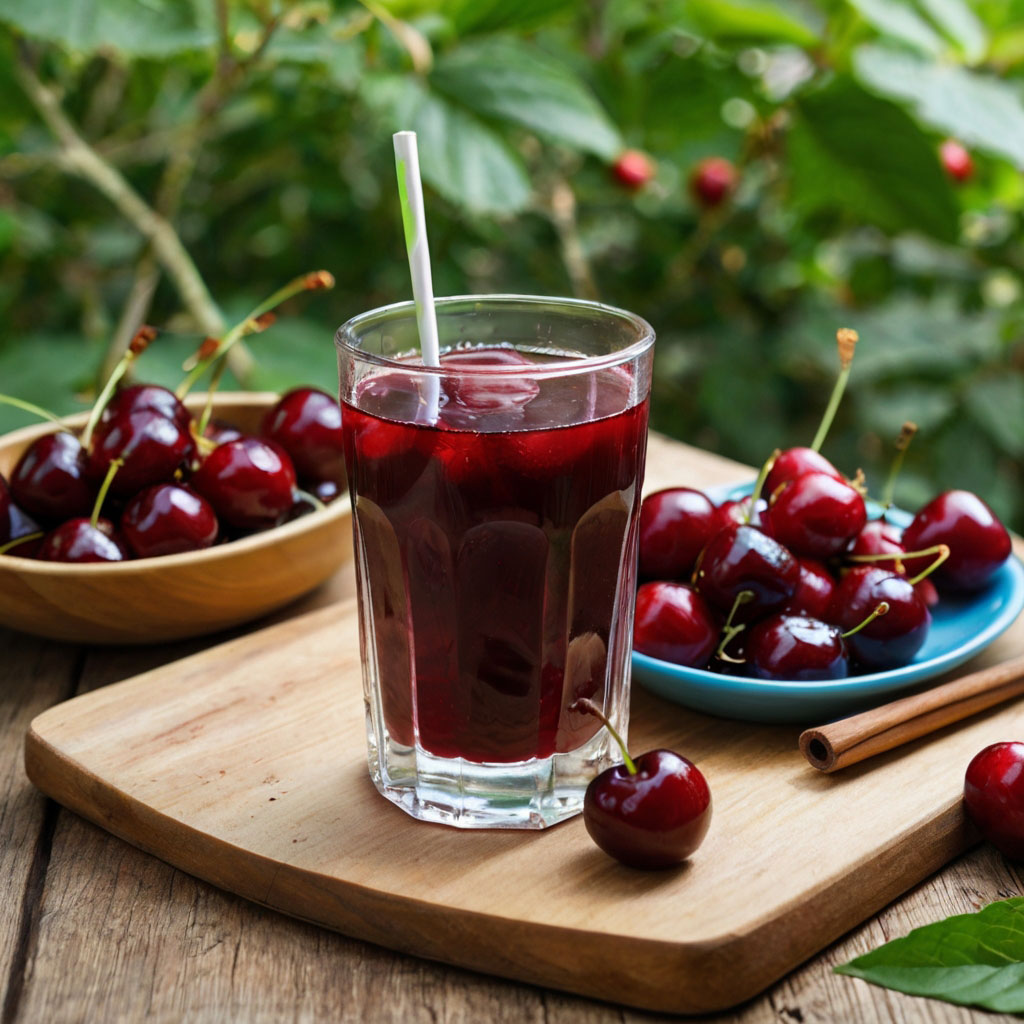
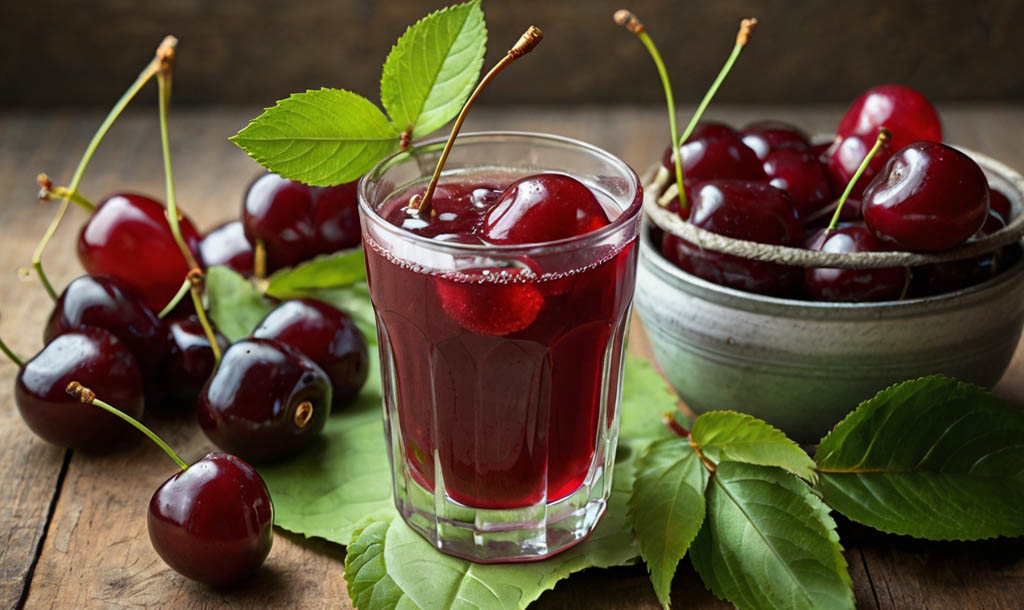
How to make sour cherry juice at home?, this tutorial for you to know How to make sour cherry juice at home with benefits and tips. Sour cherry juice is a delightful and nutritious beverage that you can easily make at home. Known for its tart flavor and numerous health benefits, sour cherry juice is a favorite among those who enjoy fresh, homemade drinks. In this comprehensive guide, we’ll walk you through the steps to make sour cherry juice at home, from selecting the best cherries to bottling the final product.
Benefits of Sour Cherry Juice
Before we dive into the process, let’s briefly discuss the benefits of sour cherry juice:
- Rich in Antioxidants: Sour cherry juice is packed with antioxidants, particularly anthocyanins, which help fight free radicals and reduce inflammation.
- Improved Sleep: The natural melatonin in sour cherries can help regulate sleep patterns and improve sleep quality.
- Exercise Recovery: Sour cherry juice can reduce muscle soreness and aid in faster recovery after exercise.
- Heart Health: Regular consumption of sour cherry juice can help lower blood pressure and reduce the risk of heart disease.
- Anti-Inflammatory: It can help reduce symptoms of arthritis and other inflammatory conditions.
Ingredients and Equipment make sour cherry juice at home
Ingredients
- Sour Cherries: Fresh or frozen sour cherries, preferably Montmorency cherries, are ideal for making juice.
- Water: Clean, filtered water for diluting the juice.
- Sweetener: Optional. You can use honey, sugar, or a natural sweetener like stevia, depending on your taste preference.
Equipment
- Juicer or Blender: To extract juice from the cherries.
- Strainer or Cheesecloth: For straining the juice to remove pulp and seeds.
- Saucepan: For heating the juice if you prefer a pasteurized version.
- Glass Bottles or Jars: For storing the juice.
- Funnel: To help with bottling the juice.

How to make sour cherry juice at home?
Step-by-Step Guide to How To Make Sour Cherry Juice at home
Selecting and Preparing the Cherries
Step 1: Choosing the Cherries
- Select ripe, fresh sour cherries for the best flavor and maximum nutritional benefits. If fresh cherries are not available, you can use frozen cherries.
- Ensure the cherries are firm and have a deep red color. Avoid cherries that are bruised or have blemishes.
Step 2: Washing the Cherries
- Rinse the cherries thoroughly under cold running water to remove any dirt or pesticides.
- Remove the stems and pits. You can use a cherry pitter or a small knife for this process.
Juicing the Cherries
Step 3: Using a Juicer
- If you have a juicer, simply feed the prepared cherries into the juicer and collect the juice in a clean container.
- Follow the manufacturer’s instructions for your specific juicer model.
Step 4: Using a Blender
- If you don’t have a juicer, you can use a blender. Place the pitted cherries in the blender and blend until smooth.
- Add a small amount of water to help with blending if necessary.
Straining and Sweetening
Step 5: Straining the Juice
- Pour the blended cherry mixture through a strainer or cheesecloth into a large bowl to separate the juice from the pulp and seeds.
- Use a spoon or spatula to press the mixture and extract as much juice as possible.
Step 6: Sweetening the Juice (Optional)
- Taste the juice and decide if it needs sweetening. Sour cherry juice can be quite tart, so you might want to add a sweetener.
- If you prefer a natural sweetener, add honey or stevia to taste. You can also use sugar if you like.
- Stir well until the sweetener is completely dissolved.
Bottling and Storing
Step 7: Bottling the Juice
- Use a funnel to pour the juice into clean glass bottles or jars. Leave some space at the top to allow for expansion if you plan to freeze the juice.
- Seal the bottles or jars tightly with lids.
Step 8: Storing the Juice
- Store the juice in the refrigerator if you plan to consume it within a week. For longer storage, you can freeze the juice in freezer-safe containers.
- If you prefer a pasteurized juice, heat the juice in a saucepan until it reaches 160°F (71°C) before bottling. This process can extend the shelf life but may slightly alter the flavor.

How to make sour cherry juice at home?
Tips for Enhancing Your Sour Cherry Juice
Flavor Variations
- Lemon or Lime: Add a splash of lemon or lime juice for a refreshing twist.
- Herbs: Infuse the juice with fresh herbs like mint or basil for an aromatic touch.
- Other Fruits: Blend in other fruits such as apples, oranges, or berries to create unique flavor combinations.
Serving Suggestions
- Cold: Serve the juice chilled over ice for a refreshing drink.
- Smoothies: Use sour cherry juice as a base for your favorite smoothie recipes.
- Mocktails: Mix sour cherry juice with sparkling water and a slice of citrus for a healthy mocktail.
Health Boosters
- Ginger: Add a small amount of freshly grated ginger to the juice for added anti-inflammatory benefits.
- Turmeric: A pinch of turmeric can enhance the anti-inflammatory properties and give the juice a warm, earthy flavor.
Conclusion
Making sour cherry juice at home is a simple and rewarding process that allows you to enjoy a delicious and nutritious beverage tailored to your taste. With its numerous health benefits and versatile uses, sour cherry juice is a fantastic addition to any diet. Whether you enjoy it fresh, in smoothies, or as part of a creative recipe, this tart juice is sure to become a household favorite.
By following the steps outlined in this guide, you can easily make your own sour cherry juice and start reaping its benefits today. So, gather your ingredients and equipment, and get ready to enjoy the refreshing taste of homemade sour cherry juice!
You can contact us to know how to order, inquire, and place an order for sour cherry juice concentrate.

